AudioLabel Album Cover Maker
Reading Album Information from the CD
 AudioLabel Album Cover Maker
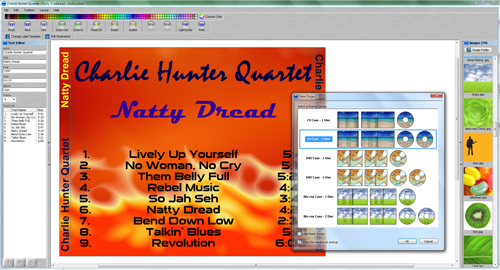
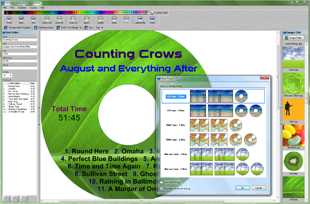
The album information can be read from the CD and automatically placed on the cover.
The quickest way to get started is to insert the CD in the drive and press the
Read CD button on the
Main Toolbar.
Read CD Button:
The Read CD button is used to search for album information (artist, title, track list) and place the text on the Front Cover, Back Cover, and Disc Label.
AudioLabel can read almost any "store bought" CD as well as any CD that you burn yourself. If you burn your own CDs, please make sure your cd-burning software supports
CD-TEXT.
For more information on CD-TEXT please see the
Read CD help page.
Double Click:
It's possible for text and images to overlap each other on the cover.
A single click of the mouse will select the top item, while a double click will select the item below.
Each time you click on an item, all of its properties are displayed on
Properties Toolbar.
Printing:
Your label paper brand (or CD Printer) can be selected in the
Change Label Template dialog.
If your label paper is not listed, you can use the
Edit Dimensions dialog to make your own cover template or adjust the dimensions of an existing template.
It's recommended that you
Calibrate the Printer before printing for the first time.
Images:
Images can be added using the
Image Toolbar; although, you can also copy and paste images from any web browser (i.e. Internet Explorer).
The
Image Folder dialog can be used to scan your entire computer for existing images.


